


1. Product Introduction
This product is a high-precision 6063-T5 extruded aluminum skirting board. Adopting one-piece extrusion molding technology, it supports surface finishes including powder coating, anodizing, wire drawing, and fluorocarbon coating. Featuring waterproof, moisture-proof, deformation-resistant, mildew-proof and impact-resistant properties, it is widely applicable to residential decoration, hotels, office buildings and commercial engineering projects. Standard accessories include metal fixing clips, external corners, internal corners, end caps, straight connectors, adhesive and sealant. Two installation methods are available: standard clip-on installation and quick glue-on installation. https://www.innomaxprofiles.com/aluminum-skirting-boards-slim-product/
Applicable Base Walls: latex-painted walls, tile walls, gypsum walls, cement rough walls
Standard Heights: 40mm, 60mm, 80mm, 100mm (customizable)
2. Pre-installation Preparation
2.1 Tool List
Laser level, tape measure, square ruler, precision cutting machine, electric drill / impact drill, self-tapping screws, cement nails, rubber hammer, utility knife, no-nail adhesive, neutral cosmetic sealant, cleaning cloth
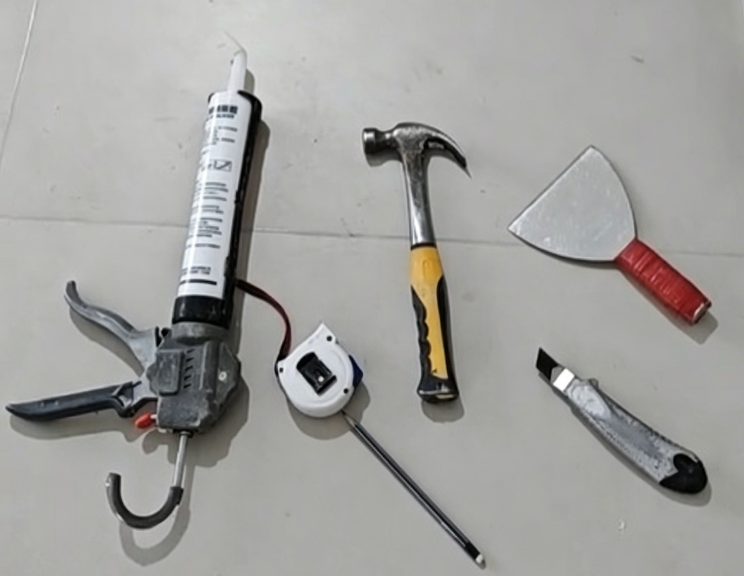
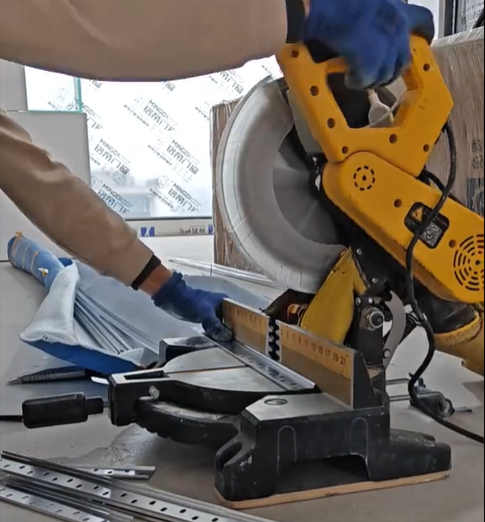
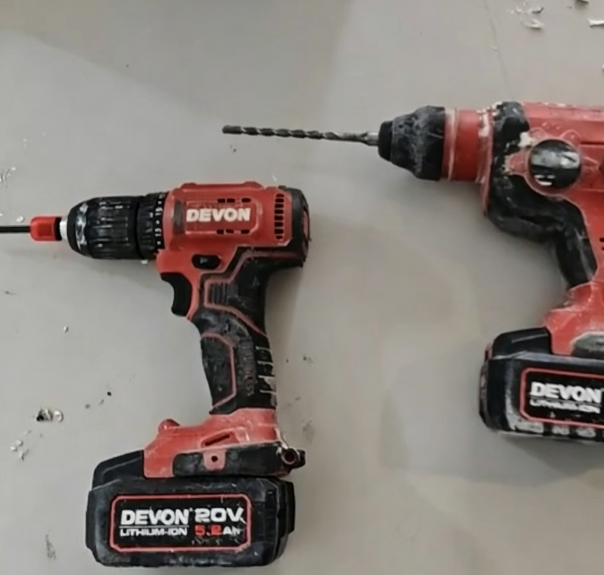
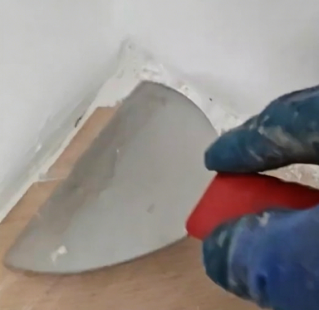
2.2 Base Wall Inspection & Treatment
Flatness Inspection: Use a 2m straightedge to check wall flatness. The allowable error is ≤3mm. Level uneven areas with gypsum in advance to avoid edge warping, excessive gaps and poor clip fitting after installation.
● Base Cleaning: Thoroughly remove dust, paint residue, oil stains and loose putty from the wall bottom. Ensure the wall surface is dry, solid and clean to guarantee firm adhesion of clips and adhesive.
● Site Requirements: Complete floor tile or wood floor paving and wall finishing before installing skirting boards to avoid secondary pollution and product damage.
2.3 Line Marking & Positioning Standard
Use a laser level to set a unified horizontal reference line for the whole house. The overall horizontal error shall be ≤1.5mm to prevent uneven and wavy installation effects.
3. Standard Installation Methods
Advantages: Firm fixation, no glue failure risk, detachable and maintainable, no wall damage, suitable for high-end decoration and commercial engineering projects.
Mounting Clip Spacing: 400–600mm for straight sections; one clip must be fixed within 100mm at both ends of each profile; spacing shall be reduced to 150mm at wall corners and door/window openings to prevent end loosening and warping.
Detailed Installation Steps
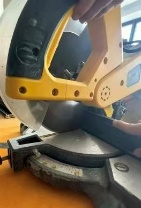
Step 1: Precise Profile Cutting Cut straight profiles vertically according to actual wall dimensions. Polish cutting edges to remove burrs and avoid excessive splicing gaps.
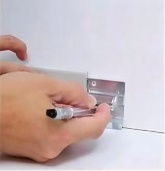
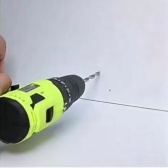
Step 2: Fix Mounting Clips Fix mounting clips along the laser horizontal line. Use cement nails for cement walls and self-tapping screws with electric drills for brick or putty walls. Ensure mounting clips fit closely without loosening or offset.
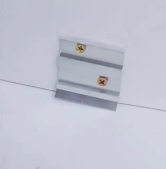
Step 3: Pre-install Corner Accessories Fix internal and external corner accessories first, calibrate verticality and horizontality to ensure tight and square corner fitting
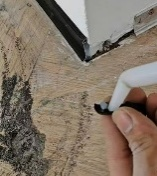
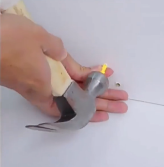
Step 4: Install Aluminum Skirting Board Align the profile groove with fixed clips, press down evenly until a clear “click” sound is heard. Tap unfitted areas gently with a rubber hammer. Do not strike violently to avoid profile deformation.
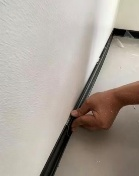
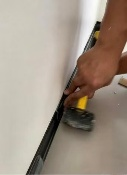
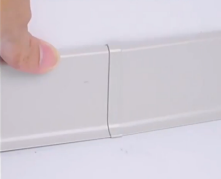
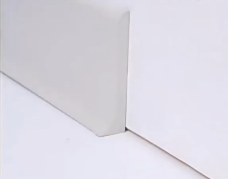
Step 5: Splicing & End Finishing Use straight connectors (flat corner) for long wall splicing with a gap ≤0.5mm. Install end caps after overall installation.
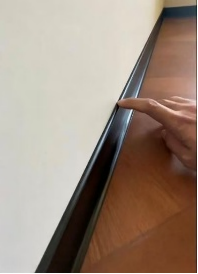
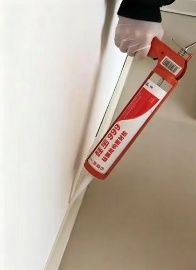
Step 6: Sealing & Finishing Fill tiny wall gaps with color-matched neutral cosmetic sealant to form smooth and neat glue lines and eliminate dark gaps and warping.
4. Standard Construction Specifications for Corners, Splicing & Openings
● External Corner: Priority to use finished external corner accessories for square and tight fitting. For direct splicing, adopt precise cutting with a gap ≤0.5mm for seamless appearance.
● Internal Corner: Adopt tenon fitting or finished internal corner accessories to ensure tight connection without loosening or warping.
● Long Wall Splicing: Use dedicated straight connectors for long-profile splicing. Ensure flat joint without steps, with height difference ≤0.3mm.
● Door & Window Opening Finishing: Strengthen fixing points on both sides of openings. Reserve a 1–2mm gap between skirting board and door/window frame and seal with color-matched glue for delicate finishing.
● Thermal Expansion Reserve: Reserve a 2–3mm expansion gap for straight walls over 6 meters long to offset aluminum thermal expansion and contraction and prevent arching and deformation.
5. Finished Product Protection & Cleaning Specifications
1. Remove the surface protective film immediately after installation to avoid adhesion caused by long-term sunlight exposure.
2. Clean daily with clean water or neutral detergent. Do not use strong acid, strong alkali or steel wool to avoid surface coating damage.
3. Avoid heavy impact and extrusion after installation. Do not collide or wet the surface before sealant fully cures.
4. Cover and protect the profile during subsequent construction to prevent pollution from paint, putty and cement.
6. Common Problems & Solutions
| Common Problem | Cause | Solution |
| Skirting board warping & loosening | Excessive clip spacing, unfixed ends, uneven wall surface | Add fixing clips, re-press profiles firmly, and level the wall in advance |
| Excessive & uneven splicing gaps | Inaccurate cutting, no dedicated connectors used | Cut precisely, use professional splicing accessories, adjust alignment and seal with glue |
| Hollow & unfitted profile | Uneven wall surface, unfixed clips | Level the base wall, re-fix clips, and fill local gaps with sealant |
| Uneven & wavy appearance | No horizontal line positioning, misplaced clips | Position with laser level throughout construction and recalibrate clip horizontality |
7. Official Installation Recommendations
1. Clip-on installation is prioritized for residential, fine decoration and engineering projects. It features higher stability, longer service life and better maintainability without wall damage or hidden after-sales risks.
2. Strictly implement four core processes: laser level positioning, standard clip spacing, matched corner accessories, and expansion gap reservation, to ensure unified and delicate overall installation effect.
3. Pure glue-on installation is prohibited in humid areas such as kitchens, bathrooms and ground-floor rooms. Clip-on installation is mandatory to prevent falling off and mildew.
Post time: Jul-06-2026